
When a coated print comes out wrong, the cause is usually one of a handful of things: the print was not ready, the conditions were not right, the coating was applied too heavily or too thinly, or the coating and the ink or media do not suit each other. Working through the symptoms below should help you find the cause quickly. Always check the coating’s technical data sheet for product-specific guidance.
Bubbles and pinholes
Likely causes: air introduced by shaking or over-mixing; rolling too fast; solvent escaping from a print that has not fully outgassed; or dust on the surface. Fixes: mix gently, allow the coating to settle, slow your application, and give prints more time to dry. Clean the surface just before coating.
Streaks and roller marks
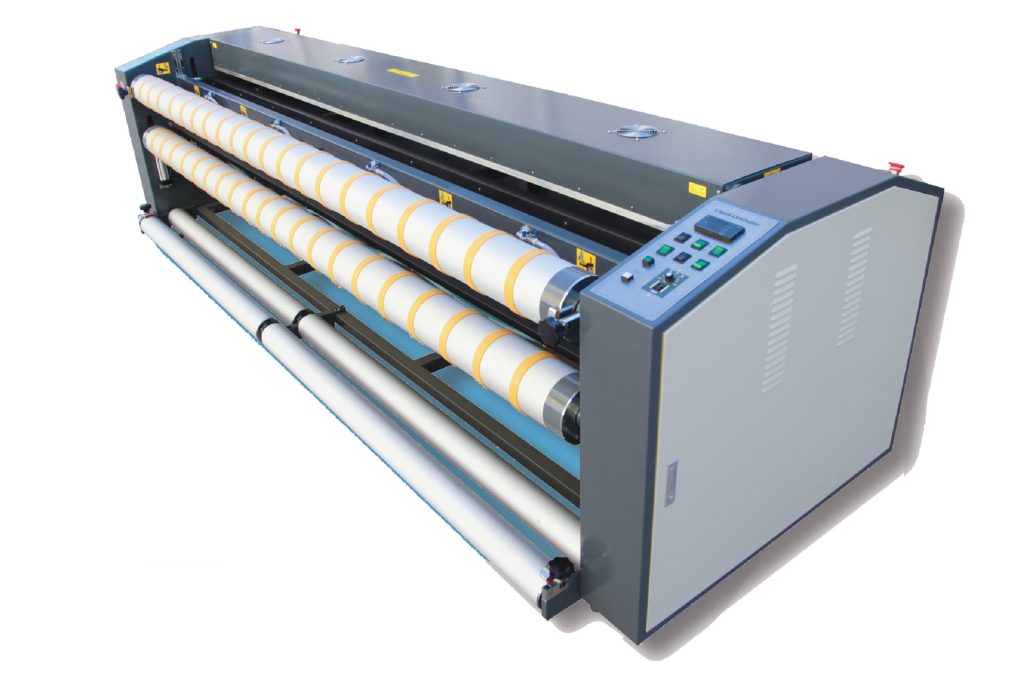
Likely causes: coating starting to set before passes are blended; an uneven or dry roller; inconsistent pressure. Fixes: keep a wet edge, load the roller evenly, finish with light passes in one direction, and work in a space without strong draughts. Persistent streaking on larger work is often a sign that a coating machine would help.
Hazing, clouding or a milky look
Likely causes: trapped solvent from an under-dried print; high humidity or cold during drying; a coating applied too thickly. Fixes: allow more drying and outgassing time, coat in a warmer, drier, ventilated space, and apply thinner coats.
Runs, sags and puddles
Likely causes: too much coating in one go; working on a non-level surface; holding a spray too close or moving too slowly. Fixes: build up with thinner coats, check the table is level, and keep spray passes steady.
Orange peel or rough texture
Likely causes: spray drying before it levels, from holding the can or gun too far away; coating too thick for the method; or temperature extremes. Fixes: adjust spray distance, follow the data sheet on preparation, and coat at normal room temperature.
Uneven sheen
Likely causes: inconsistent film thickness; overlapping passes unevenly; absorbent media soaking up coating in some areas. Fixes: apply a consistent number of even coats; on porous media, the data sheet may recommend an additional coat.
Colour shift, bleeding or softened ink
Likely causes: an incompatibility between the solvent coating and the ink or media coating, or coating before inks were fully dry. Fixes: this is the reason sample testing matters. Some ink and substrate combinations are simply not suited to solvent coatings. Check our compatibility guidance and consider an alternative finishing method.
Tackiness that does not go away
Likely causes: very heavy application; poor ventilation slowing evaporation; cold conditions; or a reaction with residual solvent in the print. Fixes: improve airflow, allow longer, and next time apply thinner coats on a fully dried print.
Prevention is simpler than repair
- Test each new ink and media combination before production.
- Schedule enough drying time before coating.
- Keep the coating area clean, ventilated and at steady room temperature.
- Record what you did on each job so you can repeat successes.
Stuck on a defect that does not fit any of these? Send photos via our contact page or call 01252 624 411 and we will help you work out what is happening.