
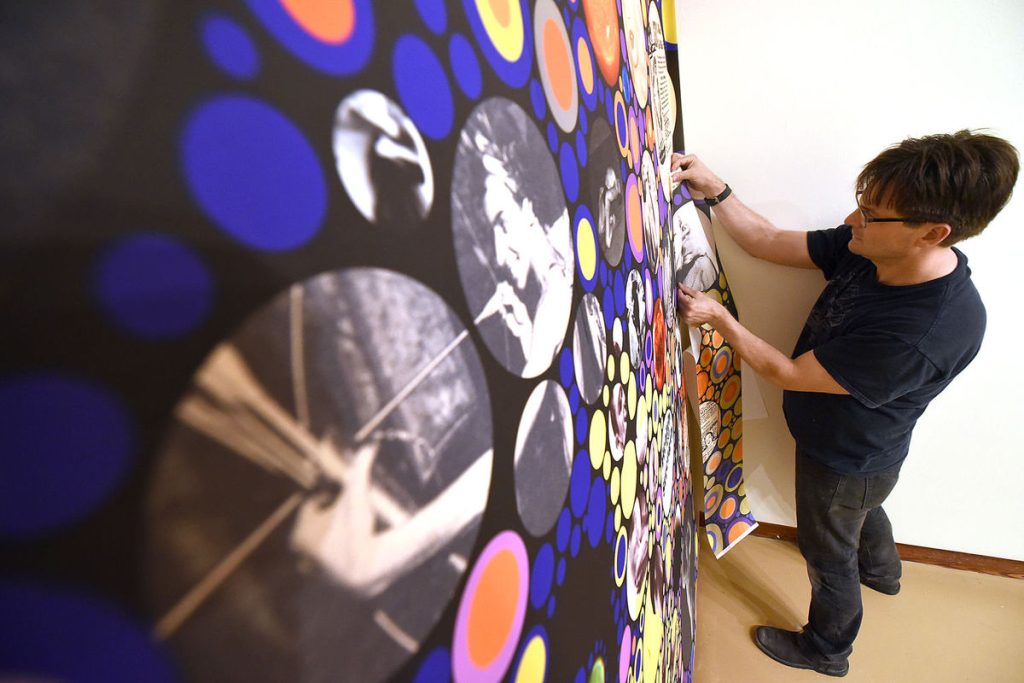
Phototex is a printable self-adhesive woven fabric designed to be easy to put up. You do not need paste, water or specialist installers, and if a panel goes on slightly crooked it can be lifted and repositioned. With a little preparation, most people get a clean result first time. The steps below apply to typical indoor walls.
What you will need
- Your printed Phototex panels, labelled in order.
- A felt-edged squeegee or soft plastic applicator.
- A spirit level or laser level and a pencil.
- A sharp craft knife with spare blades and a metal straight edge.
- A clean, lint-free cloth.
Preparing the surface
The finish depends on the wall. Phototex will follow the surface underneath, so bumps and cracks will show through. Fill and sand any defects, and make sure the wall is clean, dry and free from dust and grease. Fresh paint should be allowed to dry and cure fully before application, following the paint manufacturer’s guidance. Very rough, flaking or powdery surfaces are not suitable. If you are unsure about a surface, try a small offcut on it first.
Installation steps
- Let the printed panels settle at room temperature in the space where they will be installed.
- Mark a vertical guide line on the wall for the first panel using your level. Do not rely on corners or ceilings being straight.
- Peel back a short section of the liner from the top of the first panel and fold it back.
- Position the top edge against your guide line, leaving a little excess at the ceiling if you plan to trim.
- Press the top section lightly in place, then smooth it with the squeegee from the centre outwards.
- Gradually pull the liner down from behind with one hand while smoothing with the other, working down the panel.
- If a crease or misalignment appears, gently peel back to that point and reapply.
- Hang the next panel, matching the image along the edge and overlapping or butting as the artwork has been set up.
- Trim excess at the ceiling, skirting and around sockets using a sharp blade and a straight edge. Change blades often to avoid tearing.
- Give the whole installation a final pass with the squeegee to make sure all edges are firmly down.
Tips for a neat finish
Work with two people for large panels: one holding and aligning, one smoothing. Avoid stretching the fabric as you apply it, as this can distort the image. Turn sockets and switches off at the mains before trimming around them. Because Phototex resists edge curl and peeling, there is no need to over-press edges once they are smoothed down.
Printing it first
Check our compatibility page for printer and ink suitability, and allow prints to dry properly before installation. Product details are on the Phototex page.
Planning a Phototex job and want a second opinion on the wall or the layout? Call 01252 624 411 or ask us online.