
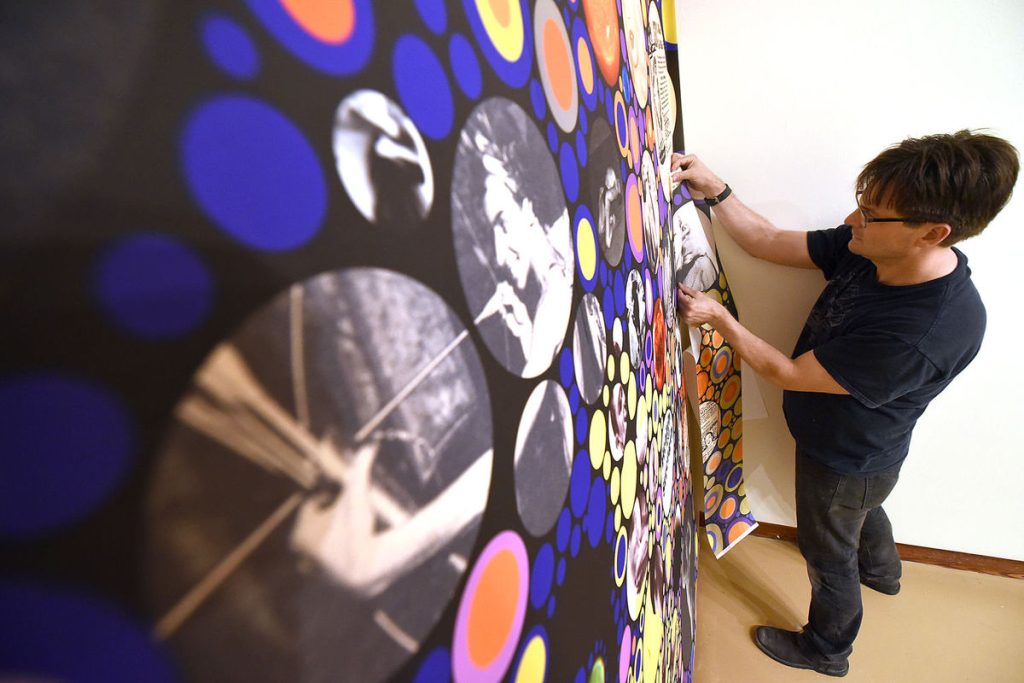
Digitally printed wallpaper is hung in much the same way as conventional wallcovering, with one important difference: the design is usually made for one specific wall. Every drop has a fixed position, the image has to align across seams, and there is rarely a spare roll to fall back on. Careful preparation and checking before you paste make most of the difference.
Check the job before you open the paste
Unroll every drop on a clean surface and check the numbering, the order and the print quality. Lay adjacent drops side by side to confirm the image matches at the overlap or butt joint. Look for damage from transit. It is far easier to deal with a problem now than once half the wall is papered.
Confirm the hanging method for the media. Some wallpaper media are paste-the-wall, some paste-the-paper, and some are self-adhesive. Use the adhesive type the media manufacturer recommends, and follow their instructions on soaking or booking times. If the wallpaper has been coated, check with whoever coated it that the coating is fully cured before installation.
Hanging step by step
- Make sure the wall is properly prepared: sound, clean, dry, smooth and sealed where the surface is porous.
- Mark a true vertical line with a plumb line or laser level where the first drop will go. Do not rely on corners or ceilings being straight.
- Check the design’s position against the wall: where key elements will fall in relation to doors, windows, sockets and furniture.
- Apply adhesive as the media manufacturer directs, keeping it off the printed face.
- Hang the first drop to your vertical line, leaving excess at top and bottom for trimming.
- Smooth from the centre outwards with a soft tool suited to the media, working out air without stretching the paper.
- Hang the next drop, sliding it into position to match the image at the joint before smoothing.
- Wipe any adhesive off the face immediately using a method that suits the surface, then trim top and bottom with a fresh blade.
- Step back after every few drops and check alignment from a distance.
Avoiding common problems
Seams opening
Gaps at joints often come from overworking the paper, stretching it while wet, or uneven absorption from a poorly prepared wall. Follow the recommended booking time so the media can relax before hanging.
Marks on the print
Hard smoothers and dirty hands can scuff the printed face. A protective coating, such as Landor Liquid Lamination, adds resistance to abrasion and makes later cleaning easier, but even a coated print should be handled with care during installation.
Misplaced design
If the image does not fit the wall as expected, stop and check measurements before carrying on. Small errors accumulate across a run of drops.
For walls where the paper may need to come down later, such as rental properties or seasonal displays, consider a removable self-adhesive fabric like Phototex instead. It removes in one piece without surface damage.
Questions about media or protecting printed wallpaper? Landor can help on 01252 624 411, or you can reach us through the contact page.